Better films every fortnight. Subscribe to Syrp Lab YouTube.
We love shooting the stars, and we’re not the only ones - capturing the majesty of the night sky is an obsession for many photographers and filmmakers. What’s not to like? Astrophotography is an endeavour in science, tech, creativity, and there’s always guaranteed to be a mission involved.
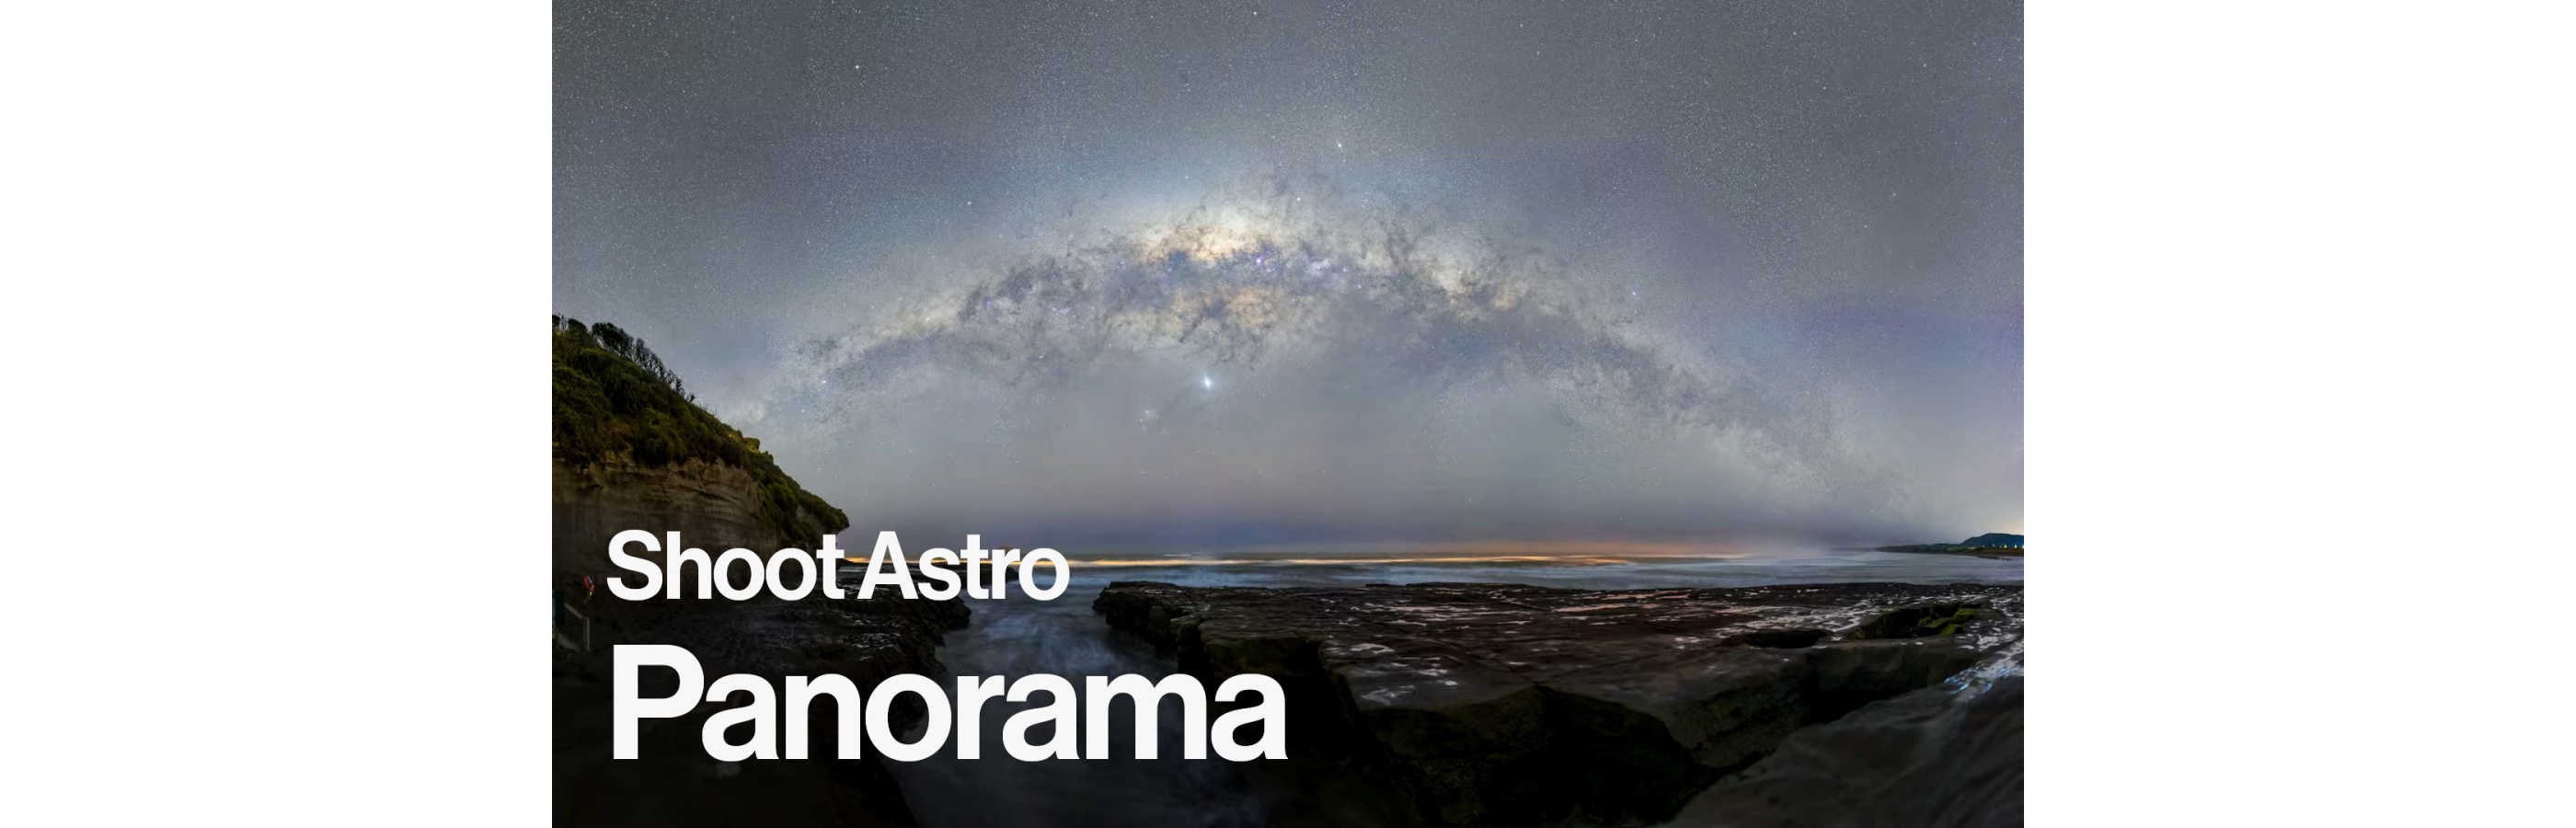
To capture the entirety of the night sky, astro panoramas are a great option. A well-shot astral pano is breathtaking, even wanderlust-inducing - it can put the naked eye to shame.
At Syrp Lab, we’ve long been on the hunt for fresh and adventurous ways to capture the stars, and for ways to design the right gear for the job. So, when it comes to astro panoramas, we went straight to the master for tips.
Charles Brooks is the king of the night sky panorama. He runs Opus Expeditions, taking photographers to some of the sweetest, least light-polluted spots in New Zealand and teaching them to capture insane skyscapes. His knowledge is the kind that comes with years of experience and many a cold solo night mission.
Charles gives a step-by-step guide to planning for, capturing and editing a truly phenomenal astro panoramic image. He’ll basically teach you how to glitter stardust over your astro shots. No detail is spared, so settle in, buckle up and get your head torch ready.
Planning is everything
A goal without a plan is just a wish. Luckily, there are enough astrophotography enthusiasts out there making clever tools to track the conditions, so you have the best chance of getting a beautiful photo. For excellent astro photography, you need to know what the stars, the weather and the light pollution are doing.
Here are the sites and apps you’ll need to plan your shot:
Charles uses a website called Darksite finder, finding areas of blue to black for the least light pollution, though you can get away with green if you’re shooting away from city lights. The way we see it, heading for blue or black is always a good excuse to get out of town. Usually, the week before and after a new moon is the best, which is shown on Darksite when the grey line of the moon matches the sun.
Charles also uses the app PhotoPills to find out exactly where the Milky Way is going to be for the time of year he’s shooting. For him, the best scenario is having the arch of the Milky Way pointing away from any city lights, and then configuring his image so the stars are over top of an interesting feature, be that a waterfall, mountain range or beach.
Fortunately for keen astro photographers, the season when the Milky Way is actually visible is long, though it’s different for the Northern and Southern Hemispheres. To track the weather, Charles uses Clearoutside.com, looking for green or orange conditions and cloud cover of less than 30%.
Your gear list:
One of the best things about using panorama to capture the astral planes, aside from the epic places it takes you to, is that you don’t need a whole lot of elaborate gear to get an incredible shot. A camera, a lens and a sturdy tripod will get you far - the rest can be done in the editing suite. Charles uses the Panasonic Lumix S1, which provides insane detail even at really high ISO.
That being said, some clever rigging that automates the process can make things run a whole lot smoother. In this case, Charles uses two Genie Mini IIs and a Pan Tilt bracket. These will make your set-up quicker, easier and more repeatable, and allow you to play with some more advanced options. You might want a torch, too, if you’re scrambling over rocks or paddocks by starlight.
While old school astrophotography may have required specialised, fast and wide lenses, panoramas allow you to get the same final effect with a standard lens. Charles uses a 50mm Lumix SPro f/1.4.
Time to capture that starscape
Stars move, so you’ll need to act fast. The bigger your image, the longer it’ll take, so for a 360° panorama, you’ll probably want a wider lens to reduce the capture time and keep that Milky Way nice and sharp.
Here are some tips on the best settings for your crisp astral shot:
Exposure, shutter speed and ISO
You generally want to keep the exposure the same as you would for standard astrophotography, with the goal being to let in as much light as possible.
Your aperture should be wide open, and your shutter speed will be determined by the earth’s rotation and the focal length. Whilst this might sound like rocket scientist-speak, PhotoPills can calculate your shutter speed for you. Charles sets his ISO between 3200 and 12800 for most of his night work.
Focus
It’s best to focus digitally, using the brightest star you can find. Switch the lens to infinity, and to live view if you are using a DSLR. Then, zoom digitally to find it - you want it to appear as small as possible in the viewfinder. This is more accurate than relying on focus marks on the lens, and in astrophotography, accuracy is what will give you a crispy image.
Automation
How trustworthy are those steady hands in the middle of the night? Smooth automation takes the guesswork out of an astro panorama, and makes sure you’ve got something worth working with when you go to stitch your images together.
Charles uses the panorama feature in the Genie II app to automate his process, and the new Manfrotto Motion app (iOS & Android) works to the same end. You just need to plug in a few camera details and settings and tell the app where you want the panorama to start and finish. Easy.
According to Charles, it’s better to tell the app to go wider and taller than you’d think - that way, there’s plenty of space between the top of your Milky Way and the edge of the frame. He sets his up with a 30% overlap, which gives the stitching software more information.
Final exposure check
It’s time to do a final check so you don’t end up with a big blob of light or a whole lot of shadow where your Milky Way should be. Charles does his exposure check by only adjusting the ISO. You want the darkest and lightest parts to be fully exposed, so it’s best to do a test shot in the centre of the grid, where it’s usually brightest.
Then, do another facing any light pollution, and another of the ground. Here’s where your histogram really has its moment to shine; make sure the graph is not skewed to the left or right or touching either wall.
Showtime. Press go, and let the minis do the rest.
Now, back to the lab
The cool thing about astro panoramas is that there’s so much room for creativity back in the editing suite. This is where so much of the magic happens. Charles uses three separate programs to get his panoramas looking world-class.
1. Lightroom
Your panorama is stitching of lots of separate images, so it makes sense to grade these images first. Charles uses Adobe Lightroom and starts with the brightest photo, which is usually in the middle of the Milky Way.
Here’s what you’ll need to do:
Adjust your exposure
Check your exposure with the histogram and make sure it’s not skewed off too much to either side. If it’s skewed, you can use the exposure slider to bring it in. The arrows at the top will light up and tell you if you’ve gone too far.
Fine-tune your colour
This is where it gets really crafty. Charles cranks up the vibrance and the saturation (it’ll look awful temporarily) to work out which colours are the strongest. Then, he moves the temperature and tint sliders until he has the most colour variation. Now, he can scooch that vibrance and saturation back down to a palatable level.
It’s time to sync. Select all your images, highlight the one you’ve just edited and hit Sync Settings. If things are feeling a bit noisy, now’s a good time to hit denoise, too.
Smooth out any errors
Check for any vignetting or chromatic aberration. You can manually move the vignette scale in Profile Adjustments to make small changes to one photo, then Sync Settings again.
Chromatic aberration is when the light starts to split and leaves a blue edge on the stars. No bueno, and this will only get more obvious once the photos are stitched together. Go to Develop > Lens Corrections and slide the purple defringe slider until this disappears. Then, Sync Settings again.
A word of warning: steer clear of the sliders for highlights, shadows, whites, blacks, texture, clarity and dehaze. These will give inconsistent results image to image and cause stitching problems.
Now, stitching time.
2. PTGui
Here’s where your astro panorama can start to take shape! When you export your files from Lightroom to your desktop, you’ll want to rename them into a sequence, and set them to TIF and 16BIT. Now for PTGui.
This programme has some cool tricks up its sleeve. Once you’ve opened your images, go to Project > Align and enter the settings you used back at your shoot - your overlap, grid size and shooting configuration.
With these, the programme will do a rough stitch. Impressive, but rough’s not what we’re after. Back at the Home page, under Step 2, you’re going to Align Images. That'll make the stitching clearer, and make the next stage of fine-tuning a whole lot easier.
Straighten it all out
Probably one of the most obvious (and painful) imperfections in a panorama is an uneven horizon line. To straighten it, click on the image and drag it down. Another is when the stars at the top of the frame are stretched out - this is due to the default Equirectangular Projection the programme uses to stretch a sphere onto a flat surface.
You can adjust this by choosing a projection like Mercator instead.
Restitch where needed
If there are any light and dark patches across the image, you can change the display mode in the top toolbar to reveal exactly how the pictures have been stitched together. If these light and dark bands are showing up where the pictures are meeting, there’s probably still a little bit of vignetting in the lens.
To fix this, head back to the Exposure/HDR section in the Home panel and click Optimize. To get even more hands-on, use the masking section to manually change where the programme has split the images.
To do this, use the green tool on the bottom toolbar to draw specific parts of the individual picture you want to be used in the pano. This’ll stop any split lines from running through the most interesting parts of each image.
Crop
It’s time to resize your image so Photoshop can handle it. Drag the yellow lines from the top, bottom and sides using the double arrow, and export your panorama as a PSB (large photoshop file) and set it at 16BIT.
Stay with us - you’re on the home straight!
3. Photoshop
In Photoshop, duplicate the layer you’ve got and edit this duplicated layer. Using the raw camera filter, you can enhance the image by adjusting the sliders. It’s pretty simple: the shadow slider will bring the foreground out of the dark, the clarity slider can bring in some interesting contrast, and the new texture slider can bring out further details.
Here’s where you can nail that brilliant high-detail look with dust mist hovering around the Milky Way. Duplicate the already duplicated layer, then go to Filter > Other > High Pass. Move the slider over to the right until you can see the high clouds in the grayscale image.
Then, set the blending mode to soft light - this will bring out the clouds. However, it can also overly sharpen the stars. To solve this problem, Charles takes the stars out of this layer, going to the Noise section and selecting the Dust and Scratches filter. Slide the detail slider until you can’t see the stars, then set this layer to soft light.
These effects can also make your foreground overly sharp, and nothing ruins an incredible astro shot like a fake-looking foreground. To adjust for this, invert the mask on the latest layer, so that it’s not being applied to the whole image.
Select the mask, select the brush tool and paint over the Milky Way, which will make your dust clouds nice and sharp, but not overdo your foreground.
If you’ve made it this far, thanks for sticking with us! You’ll have an incredible panorama of the skyscape to show for it. It’s an intricate process, but well worth the commitment. We’d love to see what you manage to stitch together; send us through your masterpiece, or jump into the comments thread.
Happy star shooting, team.